Improve conference sessions and workshops with Color/Advance

Color/Advance. Renoir's painting "Luncheon of the Boating Party". Photo attribution: Flickr user ncindcDuring a pre-workshop at the fabulous Applied Improvisational Network 2015 World Conference in Montreal, I realized how to improve group process with an improv game, Color/Advance.

At the workshop, the talented Patrick Short and Alan Montague reintroduced me to an improv game called Color/Advance. It’s a simple game for two players, a storyteller and a listener.

At any time while the storyteller tells a story, the listener can give either of two commands: “Color” or “Advance”. Color instructs the storyteller to describe whatever she is talking about in more detail. Advance tells her to continue with the story. Improvisors typically use the game to improve storytelling skills. They use the listener’s requests as feedback to determine when:

  • More detail will spice up the story; and
  • It’s time to continue with the plot.

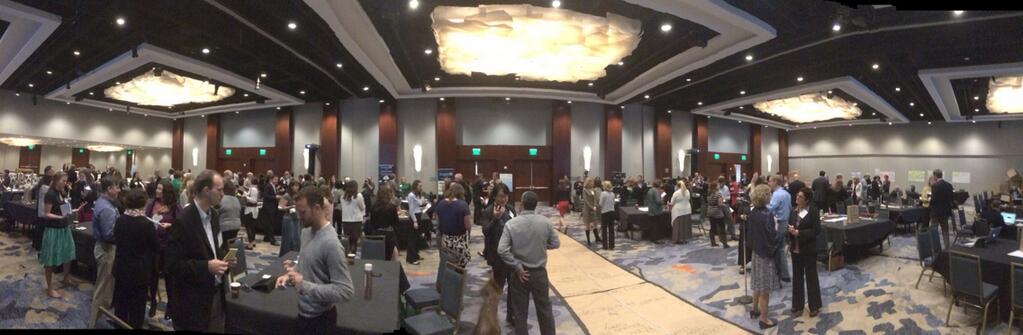
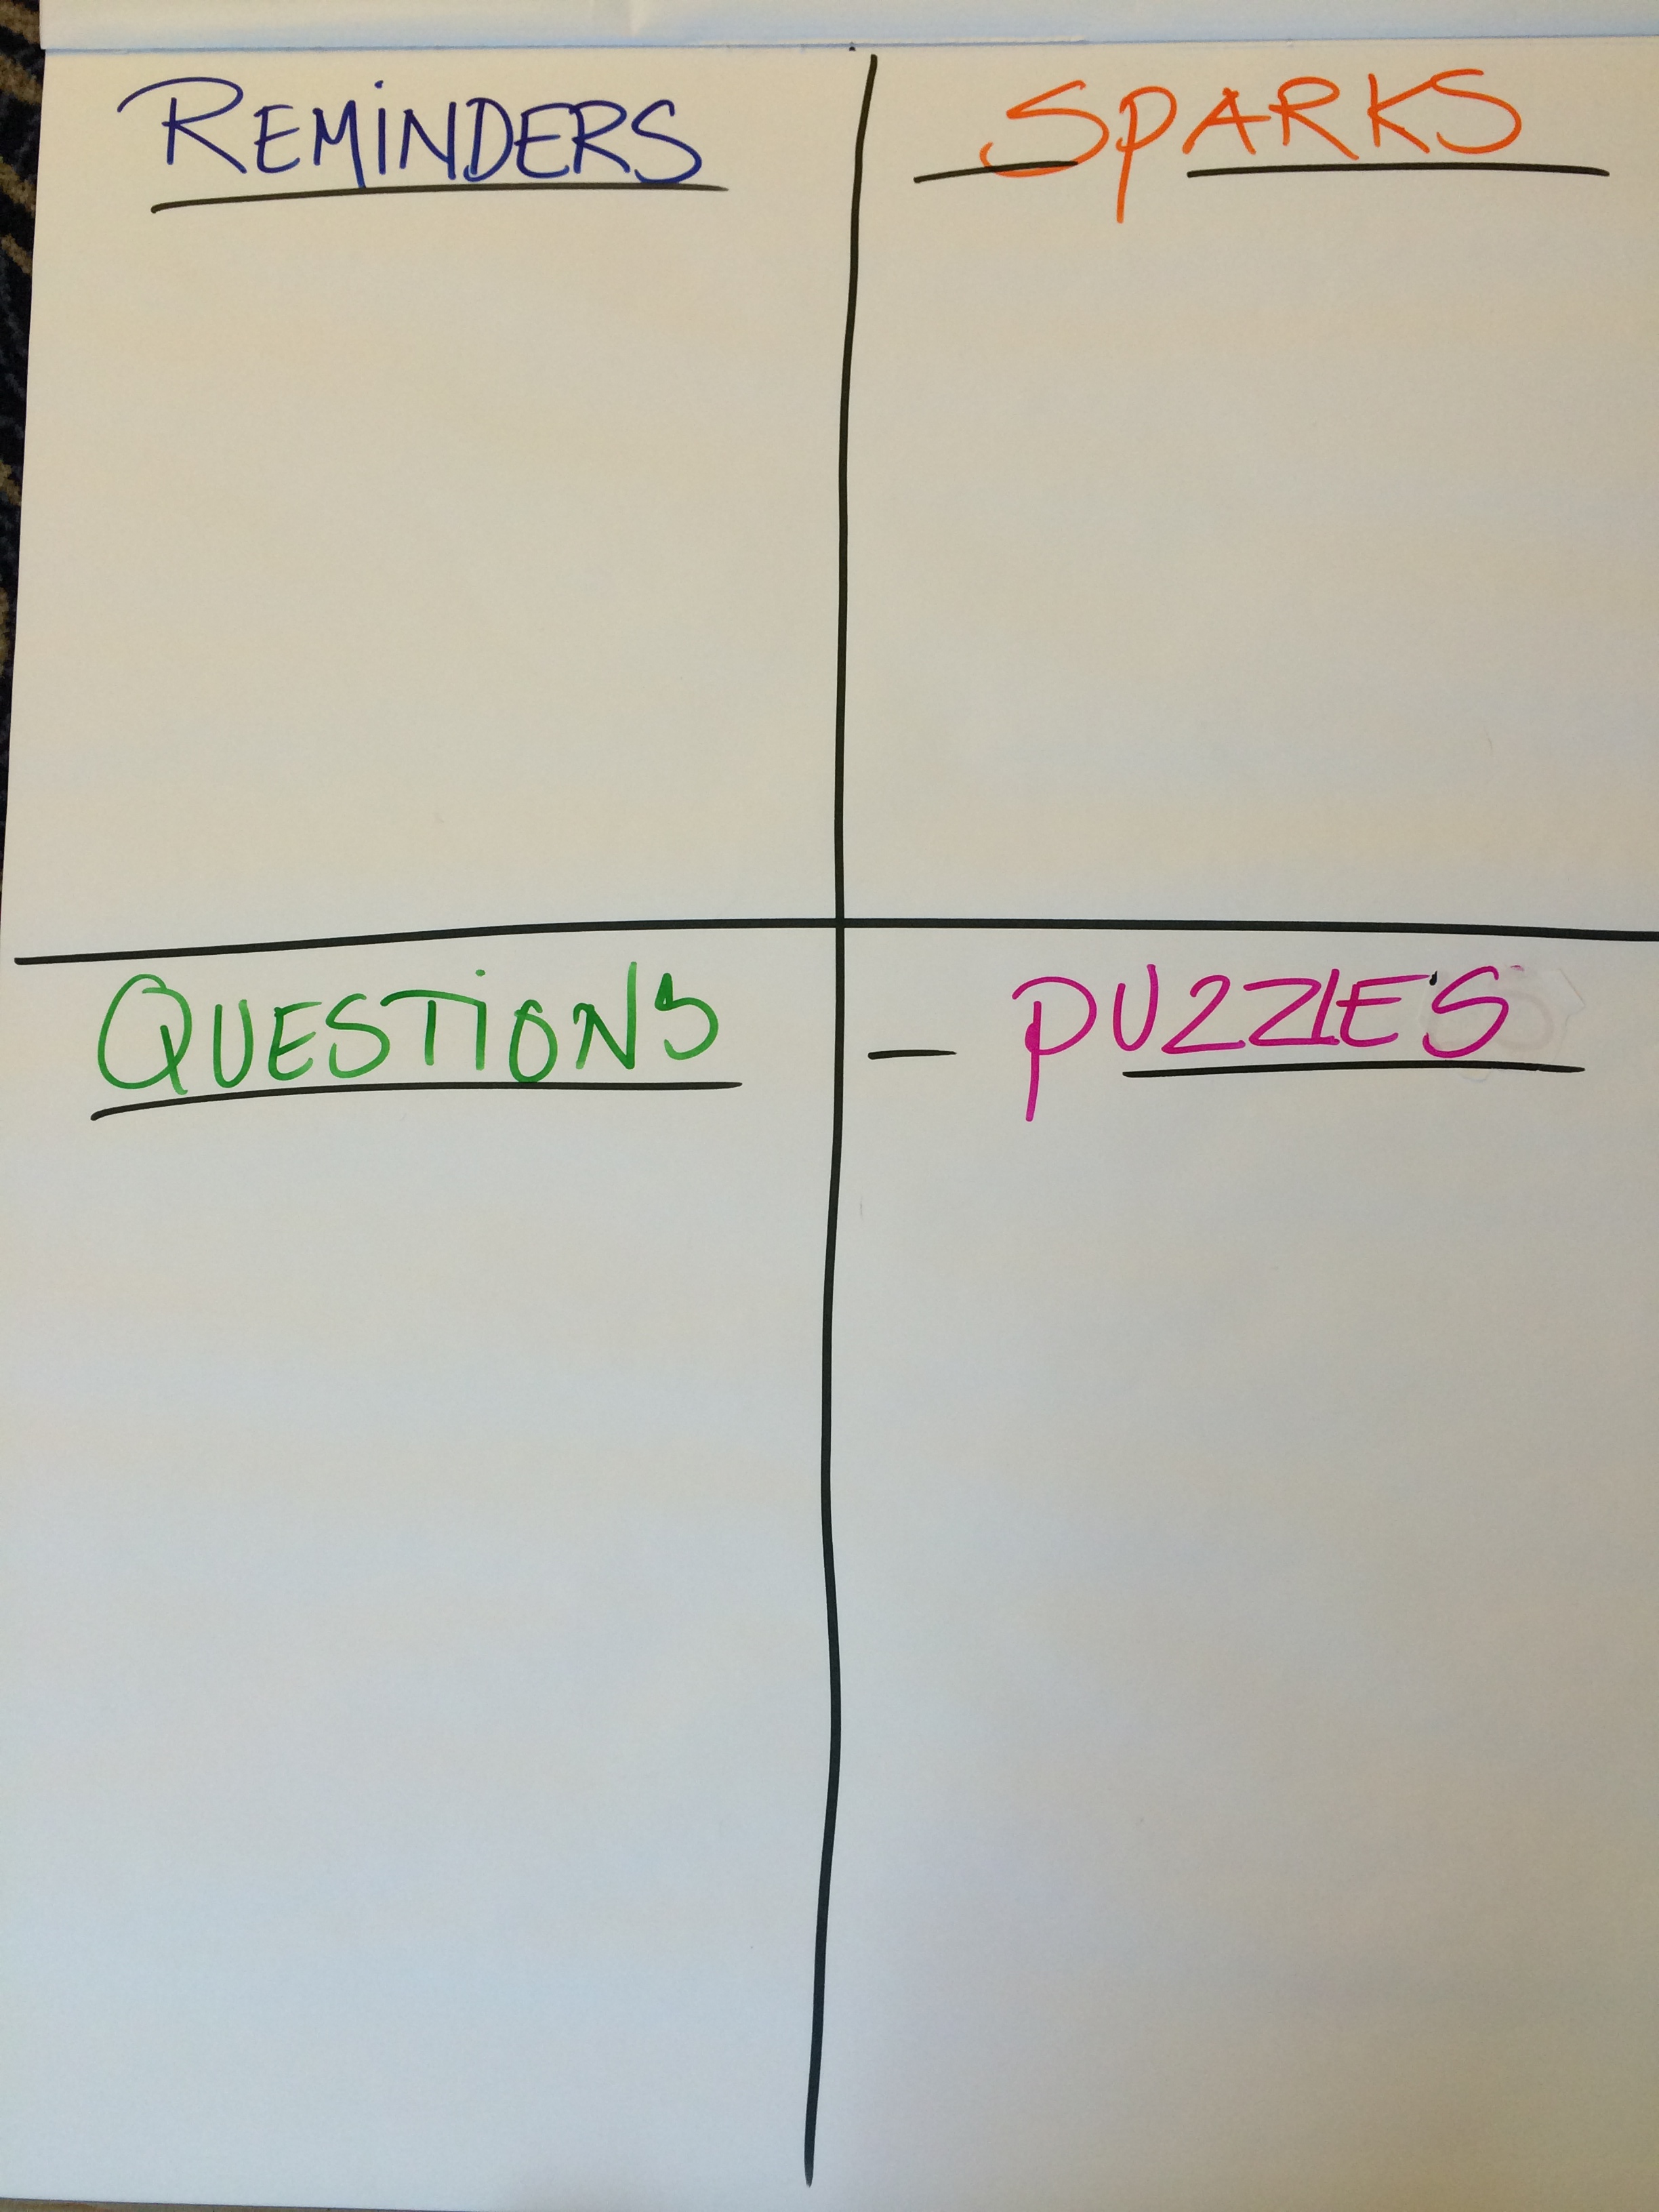
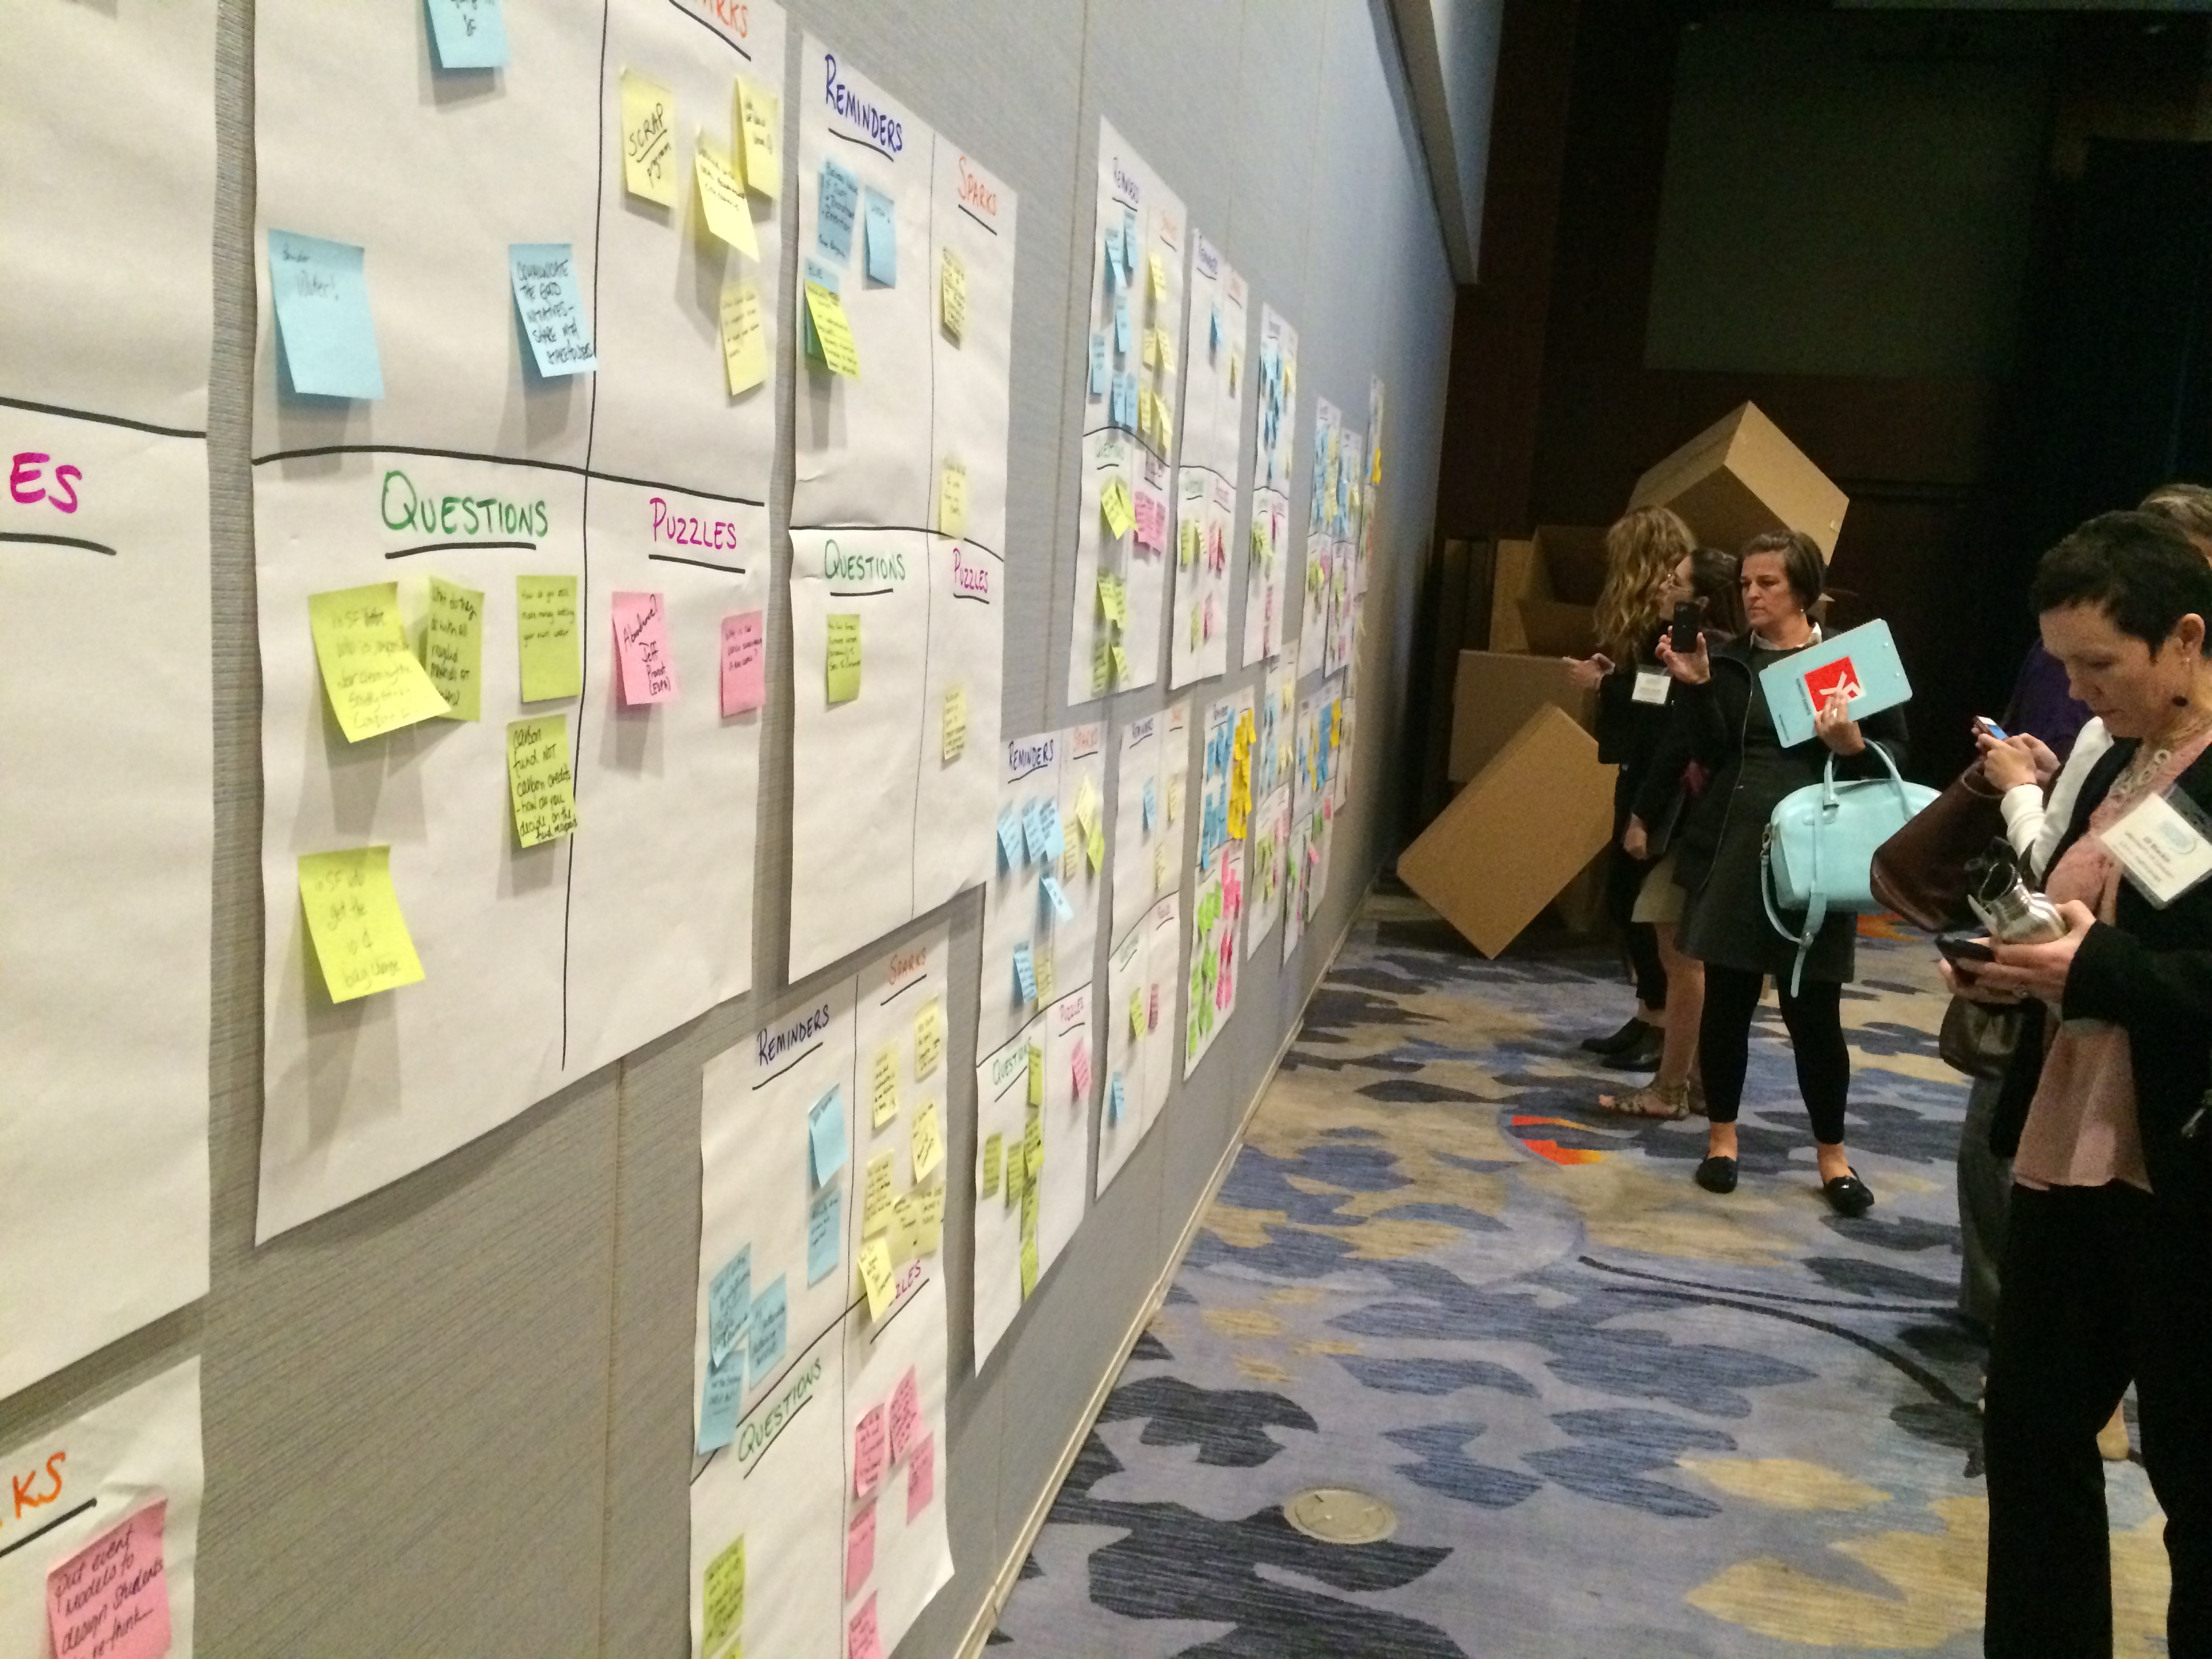
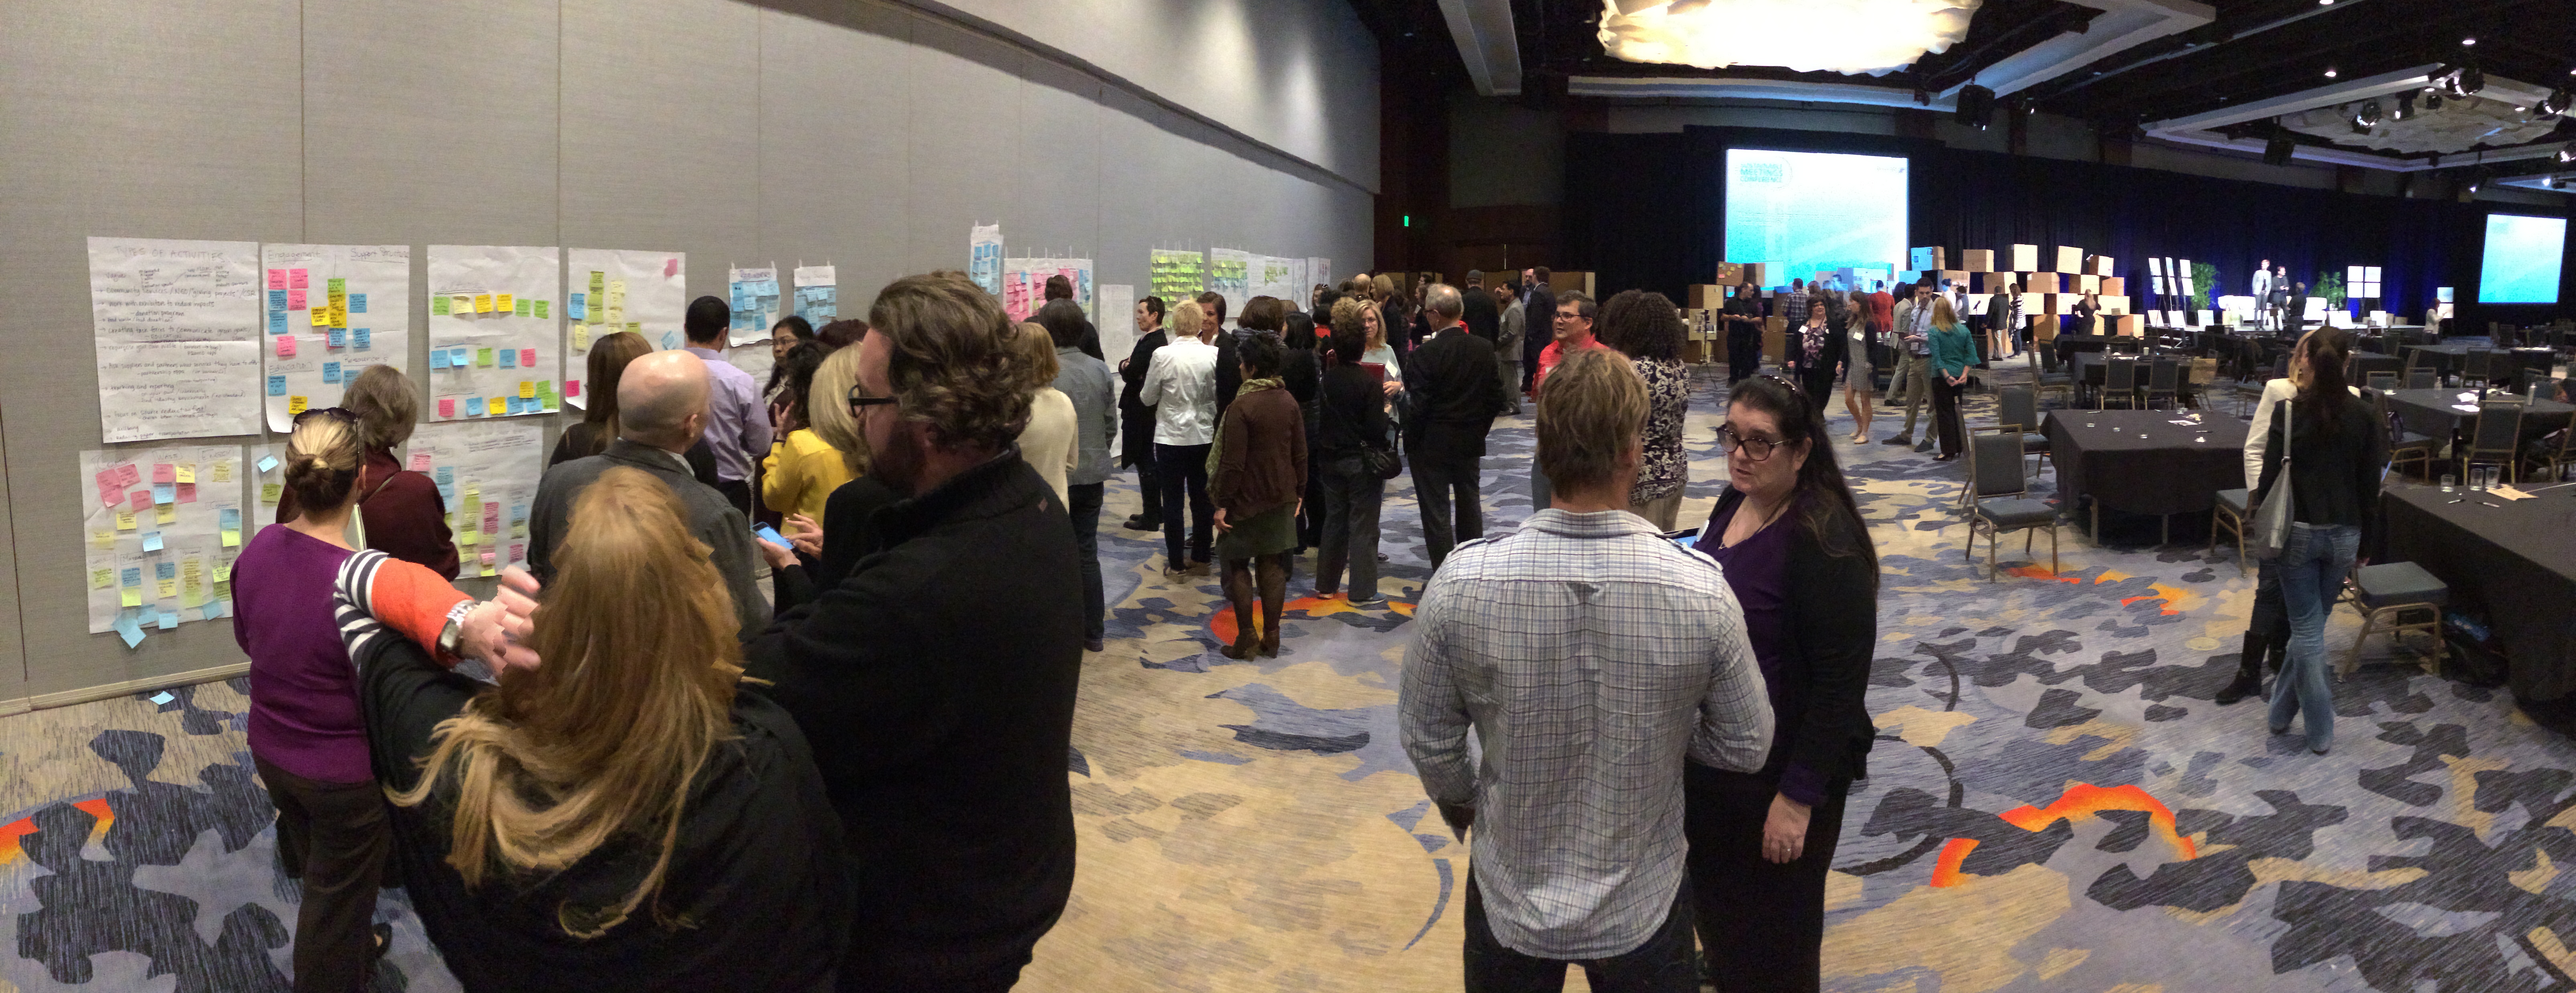
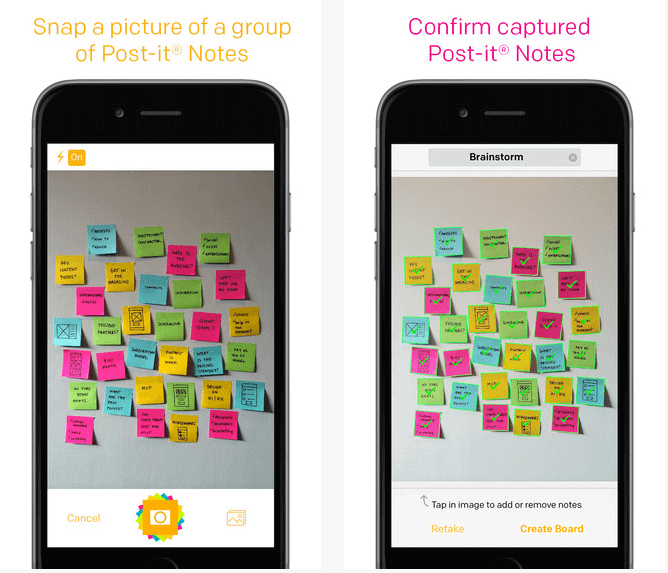
It struck me that one could use Color/Advance in a different way, as a group process tool in a conference session or workshop. Often, when I lead a meeting, I have limited information on what the participants want to get out of it. With up to about fifty participants I normally use the Post It! technique to uncover the wants and needs of the group. Then I tailor the session to fit as well as possible, covering a judiciously selected set of the topics mentioned.

This approach works very well. However there’s no standard way for attendees to indicate during the session that they would like more or less information to be shared on the current topic. It’s not unusual for people to occasionally ask for more detail. But few will spontaneously volunteer that they’ve heard quite enough about a topic and they’d like to move on to the next one.

So why not use Color/Advance as a tool for session participants to give them control over what they want to cover during a session?

Here’s what I suggest

How to use Color/Advance

After you’ve used Post It! to create an impromptu outline of the topics to include, explain that at any point anyone can say “Color!” meaning that they want more detail of what was said. Or, they can say “Advance!” which means “I’ve heard enough about this, please move on to the next topic.” Also explain that people can respectfully (and succinctly) disagree, so that the wishes of one person are not imposed on the entire group.

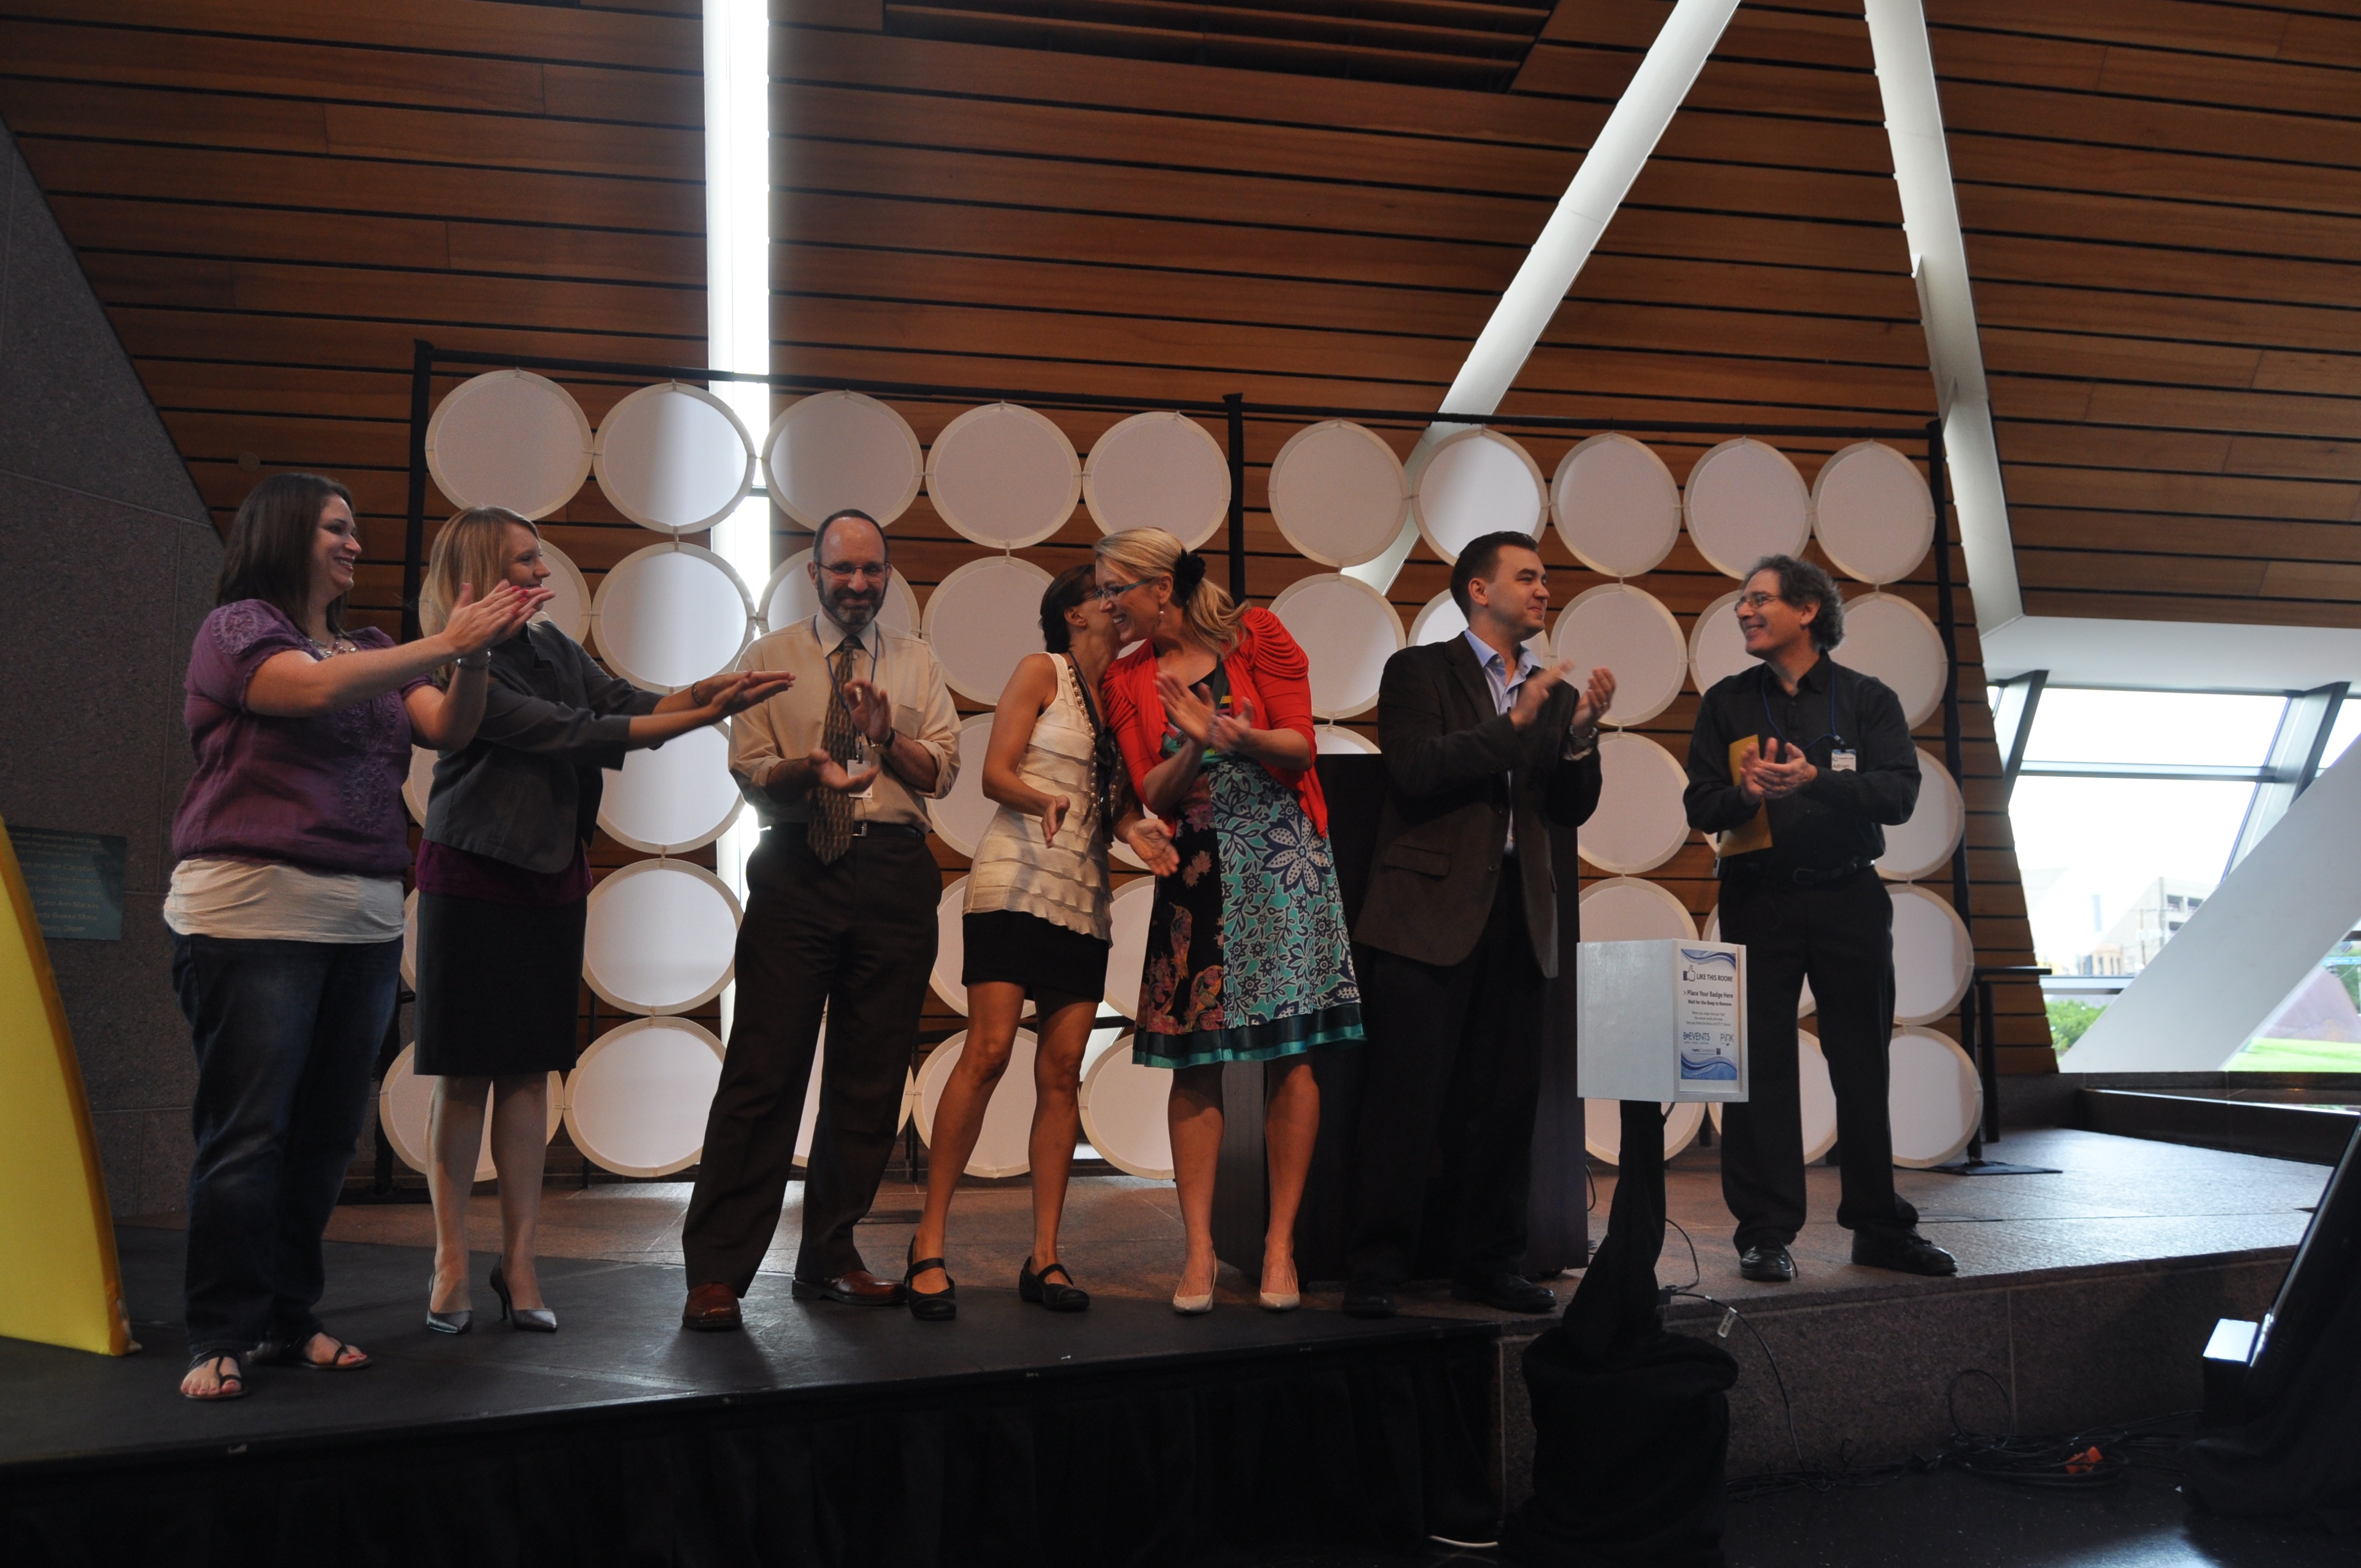
I love discovering how to harness human process in new ways. Body voting makes preferences and opinions public. A fishbowl allows a group to have a useful discussion. And, thanks to my experience at the AIN 2015 World Conference, we have a new tool Color/Advance for conference session or workshop participants to fine-tune the information shared to match their wants and needs.

If you have thoughts about or used this technique, please let us know in the comments!

Photo attribution: Flickr user ncindc

It’s not about me

not about me: Photograph of Pecha Kucha presenters (including Adrian Segar, far right) at Event Camp Twin Cities 2011

It’s not about me.

Yes, I like to talk. But when I’m facilitating well, that’s the last thing you’re aware of.

Because, when I’m facilitating well, it’s not about me.

It’s all about you.

Facilitation tool: Capture sticky notes with Post-It Plus

Two iPhone screens showing (on left) a photo of a set of sticky notes on a wall, and (on right) showing each note recognized by the Post-It Plus appWhen facilitating, I often use sticky notes as a flexible tool that allows movement from individual work => small group work => a visual summary for an entire group. 3M has just released a useful free tool for iDevices running IOS 8, Post-It Plus, that organizes and documents the results of such activities, which otherwise tend to end up as untidy rolled-up sheets of flip-chart paper or hard-to-categorize digital photographs.

I ran a quick test of the app on a year-old flip chart sheet with stick notes scattered hither and yon. Post-It Plus quickly identified all the notes (it superimposes a checkmark on each one it recognizes.) If a note is missed, you can tap on it to expand it and adjust the edges. Tap Done, and the note will be added to the collection. Once you’ve captured all the notes, you can create a Board that holds them.

But that’s just the start. Each Board can contain multiple Groups. Tap and hold a note to move it to a new Group. When you’ve categorized notes as desired, you can name your Boards and Groups appropriately and share them via iMessage, email, Twitter, and Facebook. You can also save them to your photo library or export them to pdf, PowerPoint, Excel, or as an image. If you link the app to your paid Evernote account, you can use Evernote’s OCR capability to make all your notes searchable. Integration with other apps, like Dropbox, is also possible, though I didn’t explore this.

Before digital photography, sticky note process was essentially an in-the-moment facilitation tool. Today, even though it’s simple to capture images of a group’s wall work, manipulating the ideas shown afterward is tedious and rarely done (well, to be honest, I have never taken the time to do so.)

Post-It Plus makes further categorizing and analysis of notes post-session just about as simple as possible. The sharing and export functions make it easy to communicate uncovered themes to others. Use this app to extract more value from the rich information exposed by group sticky note process. Post-It Plus is a tool with great potential—and you can’t beat the price!

Want to try out Post-It Plus? Download the free app here.

Becoming comfortable with silence at meetings

comfortable with silence: black and white photograph of a close-up of a person putting their finger to their lips. Photo attribution: Flickr user ko_anSilence during a meeting is often seen as something awkward and uncomfortable, something to be avoided. We may feel embarrassed and think “Somebody say something!” Yet silence is often an essential tool for effective sessions at meetings. Why? It allows participants to think before speaking, notice feelings, rest, and recharge. Facilitators need to be comfortable with silence, as it usually signals something important.

For example, when I run plus/delta—a technique for quickly evaluating a session or conference—I have to consciously remain quiet once participants’ initial responses die down. A long pause, followed by a neutral request for more suggestions, elicits more contributions. I find sharing typically continues for two to three times longer than the time elapsed when the first pause occurred.

Traditionally, silence is generally only acceptable in certain specific group situations (groups of strangers, prayer, performances, etc.) So, when we want to employ it during a meeting, we need to facilitate its use. For example, sometimes we need it so that people have quiet time to think while writing down answers to questions. If we don’t explicitly request silence beforehand, those who finish first tend to start talking to each other. This disturbs those who need more time to reflect.

Functions of silence

What are the functions of silence when we’re together with others?

  1. The first function is linking in which silence binds people together such as a “moment of silence,” a silence during prayer, or a silence after someone makes an inappropriate remark.
  2. The second function is an affecting function in which the silence has an effect on the others in the room that might communicate indifference, dislike, or coldness.
  3. A third type of silence is the revelational function of silence by which people show they don’t know what to say or cannot provide an appropriate response.
  4. A fourth function of silence is judgmental, which may indicate approval or disapproval to what has been said. In group settings, this can be seen as ‘‘silence as admission’’ by not responding to an individual or a type of silent protests.
  5. The last function of silence is activation in which a group member may be silent while choosing words before speaking. The impression might be that a group member is quiet and doing nothing, but in reality the group member is pondering what to say and how to respond.

Learning Group Leadership: An Experiential Approach, Jeffrey A. Kottler & Matt Englar-Carlson’s summary from Dennis Kurzon’s paper Towards a typology of silence

Silence at meetings

Any of these five functions could be relevant when we observe silence at a meeting. When we have not requested silence, it’s important to notice when it happens, figure out what might be going on, and respond appropriately. Some of the most powerful moments I’ve experienced when working with groups have been when silence erupts unexpectedly. When this happens, it’s often good to ask the group what they think is going on rather than papering over the silence with words.

Sometimes, letting silence grow for a while is the right thing to do. Not only does this emphasize that something significant may be going on, but it also gives us more time to think about how we want to respond to it. That’s why we need to become comfortable with silence at meetings.

Hat tip to Adriano Pianesi‘s blog post “The silence of the staff. Kiss of death of group dynamics roles or not?” {October 2017: no longer available} which inspired this post.

Photo attribution: Flickr user ko_an

From broadcast to learning in 25 minutes

photograph of participants discussing during the GMIC 2014 conference "from broadcast to learning" RSQP collaboration session

From broadcast to learning in 25 minutes

Last week’s Green Meetings Industry Council’s 2014 Sustainable Meetings Conference opened with a one-hour keynote panel: The Value of Sustainability Across Brands, Organizations and Sectors. Immediately after the presentation, my task was to help over two hundred participants, seated at tables of six, grapple with the ideas shared, surface the questions raised, and summarize the learning and themes for deeper discussion.

Oh, and I had twenty-five minutes!

For a large group to effectively review and reflect on presented material in such a short time, we have to quickly move from individual work to small group work to some form of a concrete visual summary that’s accessible to everyone.

Here’s what I did

[Added August 2023: I documented this entire process, named RSQP, in more detail in my book Event Crowdsourcing.]

Stand up!

1) My audience hadn’t moved for over an hour, and their brains had, to varying degrees, gone to sleep. So, for a couple of minutes, I had people stand, stretch, twist, and do shoulder rolls.

Explain!

2) Next, I summarized what we were about to do. I

      • Outlined the three phases of the exercise: a) working individually; b) sharing amongst the small group at their table, and c) a final opportunity to review everyone’s work in a short gallery walk.
      • Pointed out the tools available. Each table had a sheet of flip-chart paper (divided into a 2 x 2 matrix), 4 pads of different colored sticky notes, and a fine-tip sharpie for each person.

2014-04-15 14.41.30

      • Explained the four categories they would use for their responses. After introducing each category I asked a couple of pre-primed volunteers to share an example of their response with the participants.
        • REMINDERS. “These are themes with which you’re already familiar that the keynote touched on. You might want to include ideas you think are important. And you might want to include themes that you have some expertise or experience with. More on that in a moment. Write each REMINDER on a separate blue sticky note, which will end up in the top left square of the flip chart.”
        • SPARKS. “Sparks are inspirations you’ve received from the keynote; new ideas, new solutions that you can adopt personally, or for your organization, or at your meetings. Write your SPARKS on yellow sticky notes; they’ll go in the top right square.
        • QUESTIONS. “These are ideas that you understand that you have questions about. Perhaps you are looking for help with a question. Perhaps you think a question brought up by the keynote is worth discussing more widely at this event. Write your questions on a green sticky note; they’ll go in the bottom left square.
        • PUZZLES. “Puzzles are things you feel that you or your organization or our industry don’t understand and need help with. Write your puzzles on a violet sticky note; they’ll go in the bottom right.”
      • Gave these instructions. “In a minute I’m going to give you about five minutes to work alone and create your REMINDERS, SPARKS, QUESTIONS, and PUZZLES. Don’t put your notes on the flip chart paper yet; we’ll do that communally soon. Any questions?” [There were none.] “Two final thoughts:
        • 1) Words are fine, but feel free to draw pictures or diagrams too!
        • 2) Consider adding your name to any of your notes. We’re going to display your notes on the wall over there. If you have expertise or experience in one of your themes, adding your name to your note will allow others who are interested in the topic to find you. Have a question or puzzle you need help with? Adding your name will allow others who can help to find you.”

Get to work alone!

3) I gave everyone five minutes to create their notes, asking them to shoot for a few responses in each category.

Share at your table!

4) For the second phase of the exercise, I asked each person to briefly explain their notes with the others at their table, placing them on the appropriate quadrant of the flip chart as they did so. I allocated each person a minute for this and rang a bell when it was time for the next person to begin.

Review everyone’s work!

5) The final phase was a gallery walk. I asked one person from each table to go and stick their flip chart page on a large blank meeting room wall. Once done, I invited everyone to go to the gallery and explore what we had created together.

The results

Here’s one end of the resulting sharing wall.

from broadcast to learning 2014-04-15 19.06.05

6) Later that evening I had a small number of subject matter experts cluster the themes they saw. (If I had had more time, I would have had all the participants work on this together during my session.) The resulting clusters were referred to throughout the conference for people to browse and use as a resource. Here’s a picture, taken later, showing the reclustered items in our “sharing space”.

photograph of participants discussing during the GMIC 2014 conference "from broadcast to learning" RSQP collaboration session

Yes, you can go from broadcast to learning in 25 minutes! Even when time is short, an exercise like this can quickly foster huge amounts of personal learning, connection (via the table work and named sticky notes), and audience-wide awareness of interests and expertise available in the room. Use reflective and connective processes like these after every traditional presentation session to maximize their value to participants.

A magical question when I don’t know

Here’s a magical question to ask when someone says “I don’t know“.

magical question: A photograph of a yellow sticky note on a wall on which is written "I don't know".

I don’t know

One of the most common answers to a question is I don’t know. (I’m not saying it’s especially common, just more common than “cheddar”, “42”, and “in the second drawer on the left”.) Generally, I don’t know is a good answer because it’s likely to be an honest one. After all, it’s when someone confidently answers a question about which they really haven’t a clue that all kinds of trouble can follow.

But occasionally someone—let’s call him Paul—answers with I don’t know after a pause, perhaps in a hesitant manner, that makes you wonder if perhaps he does have an interesting answer “at the back of his mind”. Here’s a magical follow-up question that often leads to a more specific, useful response.

Let’s suppose that a specific problem has been identified and described by Paul and you ask him:

“What would the solution look like?”

Paul, after a pause, says hesitantly:

“I don’t know.”

Here’s the magical follow-up question, asked in an even tone:

“If you did know, what do you think the solution would look like?”

Now stay quiet and wait for an answer.

You may get another, puzzled, I don’t know, but more often than not, this reframing of your original question will evoke a specific answer to your question.

Why does this work?

I’m not a psychologist, but I believe that this follow-up question works because we don’t consciously know everything we know. The “if you did know” addition gives Paul temporary permission to ignore his stated lack of knowledge and potentially tap his experience and expertise at an unconscious level.

Note that if Paul appears confident that he doesn’t know, this is not the right question to ask. Also, if you have a hunch that the magical question might work, don’t ask it in a condescending way, i.e. implying that you know Paul knows the answer but he doesn’t.

I’ve used this magical question judiciously with good results. Have you? How did it work out? Share your experience in the comments!


How do you facilitate change? In this occasional series, we explore various aspects of facilitating individual and group change.

Photo attribution: Flickr user cowbite

How to explore opposing viewpoints in a group

explore opposing viewpoints: Photo of Jan Steen's "Argument Over a Card Game" c.1665. A crowd of people indoors, two fighting around a backgammon table with some pieces of the game on the floor. Flickr user johnmcnabI recently described using a standard fishbowl to focus group discussion. There’s a less common fishbowl variant, which I call the two sides fishbowl. You can use a two sides fish bowl to explore opposing viewpoints in a group. A two sides fishbowl allows representatives of a point of view to listen to and question representatives of an opposing viewpoint for a period of time, after which the two sides switch roles.

You can use a two sides fishbowl to explore introverts’ experience of extraverts and vice versa, to examine two alternative proposals for solving a business problem, or to go deeper into divergent views on a social issue, etc.

A two sides fishbowl uses a chair layout of two concentric circles as shown below. In general, you won’t know the number of people on each side in advance. So this layout will need to be set up on the fly once the sizes of the two groups are known. If the groups are not approximately the same size, participants will need to reposition chairs appropriately when the two sides swap places.

Two sides fishbowl

Use a single facilitator for both sides. Or, choose a facilitator from each group to lead the inner circle discussion.

Running a two sides fishbowl

Once the groups for the two sides fishbowl have been established (a one-dimensional human spectrogram can be used for this), decide which group will go first and have them sit in the inner circle of chairs. The other group sits in the outer circle.

The rules for a two sides fishbowl are simple. The inner circle does most of the talking. Inner circle members, guided by a facilitator, discuss, explain, or champion their viewpoint for the benefit of the outer circle group. Outer circle members are not allowed to respond to what they hear with one exception. They can ask questions that clarify the inner circle discussion.

After holding a useful discussion, the groups change places. Give an approximately equal amount of time to the new inner group to repeat the above process.

Questions or suggestions on how to explore opposing viewpoints in a group? Share them in the comments below!

Photo of Jan Steen’s “Argument Over a Card Game”: Flickr user johnmcnab

3 tips for facilitating group discussions

tips for facilitating group discussions. A photograph of a fishbowl discussion. People sit in a large circle, listening, around a smaller circle of five filled chairs where a discussion is taking place.

Most of us have had to suffer through a “discussion” occurring in the presence of a large number of people, most of whom never get an opportunity to speak. Here are three tips for facilitating group discussions.

Use a fishbowl

A fishbowl provides a simple, ingenious process for focused discussion.

The advantage of a focused discussion over an informal discussion is that it greatly reduces the cross-conversations that frequently occur when many people want to respond or comment on something that’s been said. And it manages this feat without limiting the discussion to a few voluble people, as it provides all attendees an equal opportunity to contribute.

The term “fishbowl” can refer to a couple of different techniques for focused group discussion. In this post, I’ll describe the standard fishbowl design, which assures that the conversation at any moment is restricted to a few clearly defined people while still allowing others to join the discussion in a controlled manner.

The standard fishbowl

A standard fishbowl requires a chair for each participant, with chairs set in a horseshoe or circle, as shown in the diagrams below. See the second tip to decide which layout to use.

The number of chairs in the mouth of the horseshoe or the center of the circle is typically four or five. The fishbowl facilitator sits in one of these chairs for the duration of the fishbowl.

How the fishbowl works

At the start of the fishbowl, the facilitator sits alone in the small group of chairs. They explain how the fishbowl works by saying something like this:

“We’re about to start a focused discussion using a fishbowl. If you want to talk, you must come and sit in one of these chairs next to me. If all these chairs are full and no one has yet spoken, wait a little. Otherwise, when you come up, someone sitting here must go back to a chair in the [horseshoe/outer circle]. Also, if you’re sitting up here and have finished what you have to say, go back to a [horseshoe/outer circle] chair. When you’re up here, you can talk to someone else in these chairs or the whole group—the choice is yours.

Any questions?

[Pause for questions.]

The discussion is now open. Who would like to start?”

You’ll probably find that some attendees will want to talk from their chairs in the horseshoe or outer circle. When this happens, gently interrupt and gesture for them to come up and sit next to you. If they’ve interrupted someone in the conversation chairs, steer the conversation back to the folks up front.

Once people get the hang of the fishbowl, everyone’s likely to be surprised by how well it works. Those who tend to monopolize unstructured discussions invariably become aware of how much they’re doing so in a fishbowl. If they run on, it’s easier to gently ask them to leave the speaking chairs for a while. Participants appreciate how:

  • the format focuses the discussion;
  • contributors change as needed;
  • the front row or inner circle shows who may talk; and
  • it’s clear when the conversation on a topic has run its course.

Use the best layout for the fishbowl

I prefer the circle version for square rooms and the horseshoe layout for rooms that are significantly longer than wide. If both versions can be accommodated, I like the circle version for general discussions, and the horseshoe version when decisions may be made or if you are scribing discussion points onto flip charts, which can then be placed next to the small row of chairs for all in the horseshoe to see. If you have less than twenty people in the fishbowl, use the horseshoe layout to avoid some participants having to stare at the facilitator’s back the whole time.

Have a set of topics to review

Don’t run a fishbowl at the end of a session or conference without first creating a preliminary list of topics. This can prove frustrating when people with different topics in mind occupy the speaking chairs, leading to a conversation that jumps around from topic to topic as each person speaks. To avoid this, I’ve found that it’s best to precede a fishbowl with techniques like plus/delta or affinity grouping (see Conferences That Work: Creating Events That People Love). Both techniques create a list of opening topics for the fishbowl to address. The facilitator then uses the list as a roadmap for discussion.

What tips for facilitating group discussions do you have? Share them below!

How To Design Events That Get Amazing Participant Feedback


Here’s how to design events that get amazing participant feedback. Nick Martin of Denmark’s workshopbank interviews me. Topics include participant-driven events, ground rules, The Solution Room, The Three Questions, and Personal Introspectives.

Nick is building an interesting collection of interviews with facilitators about the processes they use. His site is well worth checking out. The interview is under half an hour and includes an extremely cute intruder around the 23-minute mark.