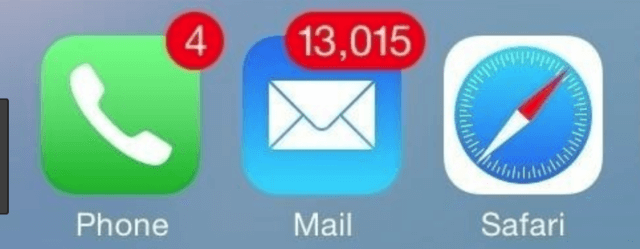
How to delete ALL mail messages from iPhone/iPad in one step

If you leave your iDevice on for a few days and come back to find a few hundred messages on it that you’ve already downloaded elsewhere this trick will save you time and irritation. I didn’t discover the method—it’s far from obvious—but found it on one of many Apple discussion threads bemoaning this irritating hole in Mail functionality.
Updates
GOOD NEWS UPDATE [added October 3, 2015] IOS 9.0.2 finally displays a “Trash All” button after Edit is pressed! If your phone won’t handle 9.0.2, the following procedure is often successful; read the comments for a detailed description of hundreds of people’s successes and failures.
BAD NEWS UPDATE [added September 25, 2016] IOS 10 has removed the “Trash All” button. Who knows why? The procedure listed below (the original 2014 post) still works for many people.
GOOD NEWS UPDATE [added January 5, 2020] IOS 13.3 allows you to “Select All” your emails and then touch “Trash” to delete all selected emails! If your phone can’t be updated to this IOS version, the following procedure is often successful; read the comments for a detailed description of hundreds of people’s successes and failures.
It works! I present to you this great tip from shashbasharat found on MacRumors (slightly edited for clarity).
How to delete ALL mail messages from iPhone/iPad in one step
How to delete or move ALL emails at once on a non-jailbroken iPad or iPhone
It took me weeks of research to figure out finally how to decode this yet another secretive secret of Apple. There is a perfect way of deleting ALL emails at once without jailbreaking your iPhone or iPad…and here it is:
- If any of your messages are marked as unread: Open Inbox >> Edit >> Mark All >> Mark As Read [added May 21, 2014 by Adrian; this extra step makes the difference between success & failure for some.]
- Open Inbox >> Edit >> Check/select the top message; it will highlight the Move button.
- Press and hold the move button and, keeping your finger on the Move button, use another finger to uncheck the message that you had checked earlier.
- Lift all your fingers off the iDevice screen and leave it alone. Wait until all your messages pile up on the right-hand portion of the screen (in iPad); iPhone will give you the actual number of emails it has selected for the action.
- Choose trash to delete all of them or any other folder where you want to move them. Remember this will replicate your action on the server so you will ACTUALLY move them or delete them on the server and not just the iDevice.
- After moving all messages to the trash you can leave them there for the scheduled cleaning or empty them right away. To empty immediately go to the trash folder and touch Edit. The Delete All button shows up at the bottom of the screen. Hit it! You’re done!
- If you do not see the effects of your actions on the server make sure you have enabled your email accounts for such actions.
Tips
- Allow enough time (could take several minutes depending on the number of emails to be moved) for selecting the emails to move. Your screen may be unresponsive for a while. On an iPad, you will see them zoomed out on the right-hand side of the screen. On an iPhone you will see a message showing you the actual number of messages selected.
- Avoid purging a very large number of emails, the mail app might freeze or crash. If your inbox has thousands of emails change your sync settings to store less emails in your inbox.
- [Added Jul 20, 2014, by Adrian] Many people have reported needing to repeat the above procedure several times before it succeeds. (I too have found this to be necessary a few times on my iPhone but not on my iPad—go figure.) So my final tip is to repeat the procedure 3-4 times if the mail doesn’t disappear the first time. In my experience, if your messages disappear momentarily and then reappear, repeating the procedure will eventually make them stay deleted for good.
That’s how to delete ALL mail messages from iPhone/iPad in one step!
